The Record: what a print-ready file looks like
An annotated example of a file set up for the press, with the three measures a reader can check before asking anyone for a quote.
What this page shows, and what it does not
This page is a worked example of a file that is ready to go to a press. Each figure in it comes from a printing guideline published by a university print service or a library, and each is linked where it appears. The arithmetic is shown so a reader can check it, and it annotates one example size rather than recording any job.
This site has no portfolio of its own. It holds no jobs, customers or finished projects, so nothing here shows work the owner has seen come off a press. The pictures are stock photographs and generated illustrations, and each caption says which it is.
Three parts of a file decide whether it prints as it looks on screen: the edge of the page, the colour mode, and the resolution of each photograph. All three are settled in the file before the job is sent, which is why we check them here first.
A file that looks right on a screen has only been checked by a screen, and a press does not read the screen.
Eighth Inch Bleed
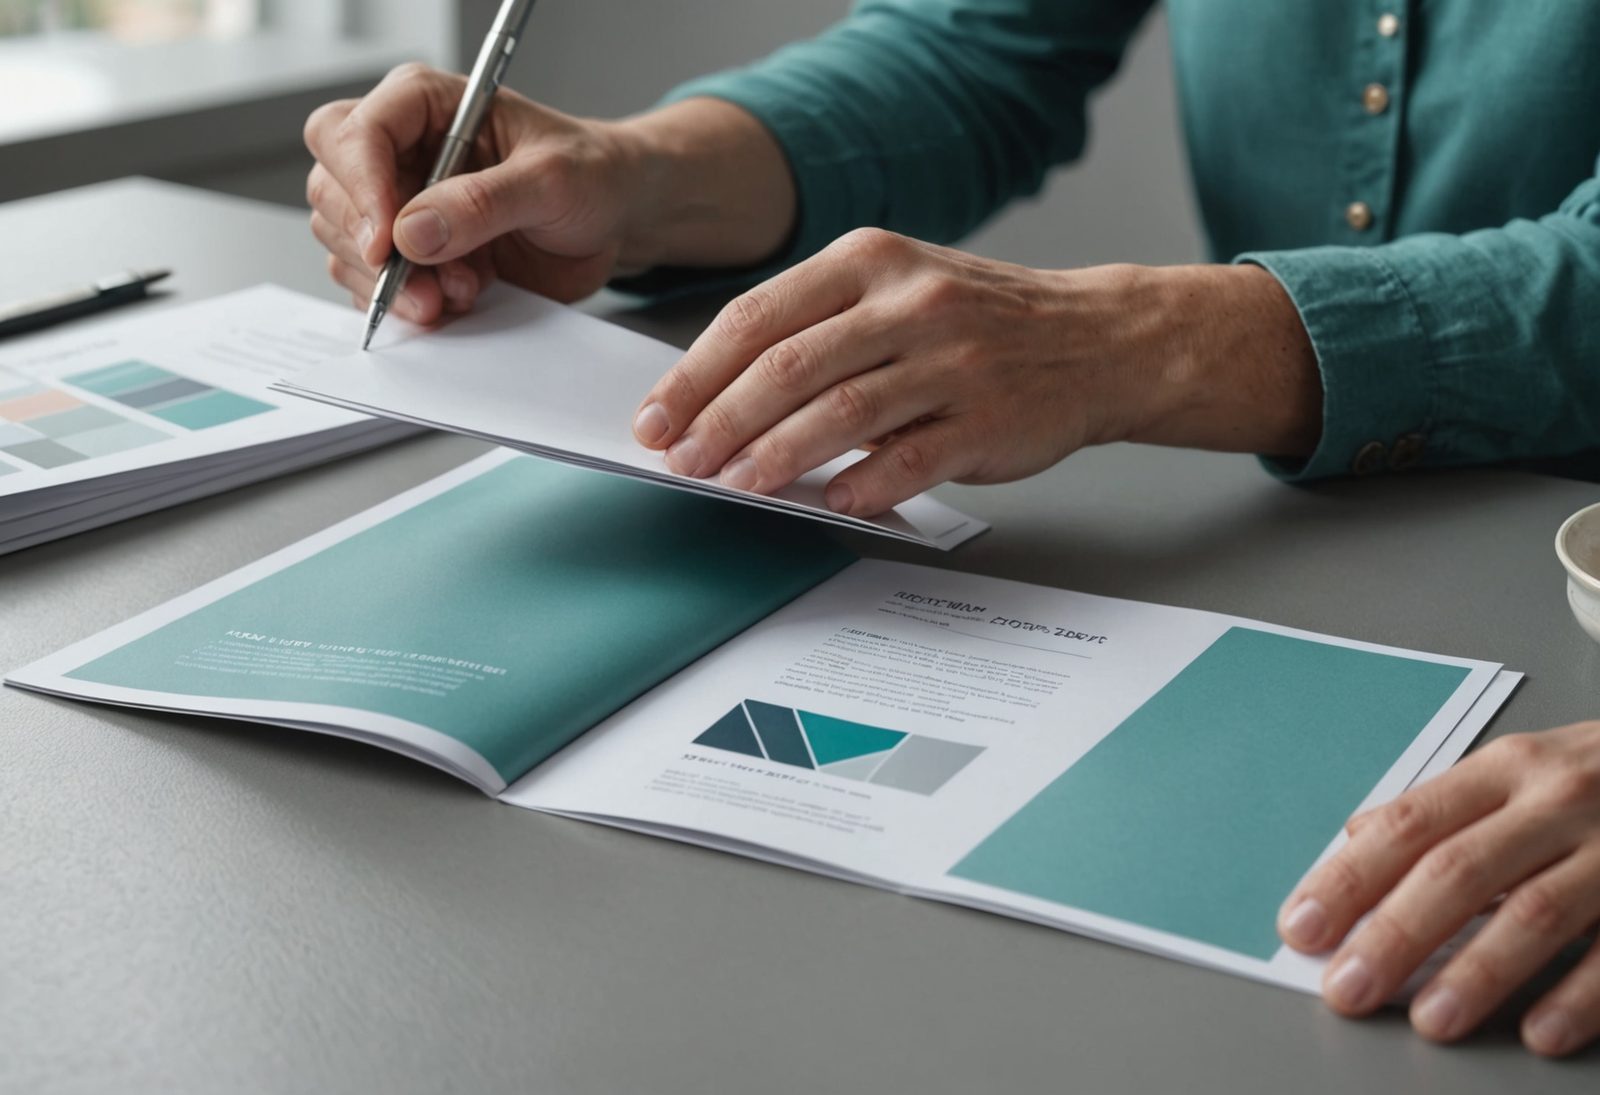
Reading a file from the outside in
Start at the cut line, because that is the finished size. Add a quarter inch to each dimension for the bleed, an eighth of an inch on every side, so the colour reaches past the cut. Then draw the safe area a quarter inch inside the cut line and keep every letter and logo within it. For an example flyer trimmed to 8.5 by 11 inches, the file is 8.75 by 11.25 inches and the safe area is 8 by 10.5 inches.
We set the colour mode to CMYK before anything else. As How to Set Up Print Files Correctly from a university printing service puts it, printed materials typically use CMYK colour, which stands for cyan, magenta, yellow and black. Artwork built for a screen can shift when it is converted, so the conversion is better made in the file than discovered on the proof.
Three measures a reader can check on any file
Extra image past the cut
Artwork that runs to the edge of the page needs 0.125 inch of extra image outside the trim line on every side, so a small shift when the sheet is cut does not leave a white edge. The Print-Ready Checklist from a university print shop gives that figure.
Text kept inside the line
Keep text, logos and anything that must not be cut off at least 0.25 inch inside the trim line. One university's guidance gives a range for this margin, and we use the larger figure because it is the safer one. The Print-Ready Checklist gives that larger figure.
Resolution at the size printed
For a hand-held piece such as a business card, brochure or menu, the Print-Ready Checklist recommends 300 pixels per inch at the size the photograph will print, not the size it was shot. For a large poster, the SUNY Broome Library poster printing guidelines give 150 to 300 dpi at final size and warn that anything above 300 adds print time without adding quality. A printer's own specification for banners may differ, so ask.
The press a file is prepared for
This clip is stock footage of a printing machine at work, credited to Kuba Grzybek on Pexels. It shows the equipment a file is prepared for, not a particular job.
The choice between digital, offset and large format is worked through on Resources, where the questions come first and the recommendation comes with its reasons.